 |
| the back |
For now, I would like to step up on my stitch marker pedestal. Stitch markers have saved me more times than I would like to admit. Left and right are really challenging for me (I have no tattoos, but if I did, a tiny "L" on my left hand and a tiny "R" on my right). Left and right in knitting is twice as confusing: Left as I'm looking at it? Left as worn? Which is my left again? Left and right in pattern writing is three times as confusing.
Enter the left and right stitch marker. Really, one could use merchandise tags with 'left' and 'right' scrawled on them, but I like my knitting to feel pretty.
I am not a jeweler; the following is a quick lesson in how I make stitch markers.
Materials:
 |
| the fixed ring is actually part of a clasp |
1.) Line up beads and bend wire 90 degrees:
Use these small pliers to make a clean 90 degree bend:
2.) Next,using these kind of pliers with rounded tip
wrap wire around to make a hook:
3.) Slip onto an earring wire
and coil the end of wire around the wire holding the beads:
 |
| sorry so blurry |
4.) Snip the tail with these:
Done!
I use earring wires for the markers that need to come and go from the needles mid row, and also as row markers (my patterns usually have a "Row 0" for counting purposes).
I hope you're having a great weekend.



2 comments:
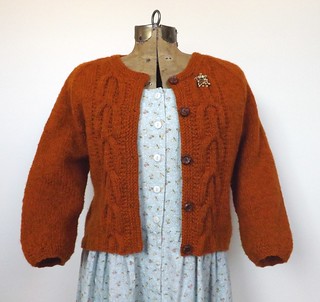
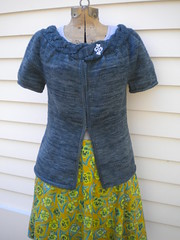
can't wait to see this one! I love the idea of the shorter front to show off belts with big buckles
always on the lookout for things like this! great idea ~
Melissa
Great tutorial - the earring finding is an excellent idea. Are you selling them on Etsy? My sweaters tend to ride up in the front anyway, this might look like it was on purpose at least.
Post a Comment